electric install instructions
Step-by-step below, or print the instructions.
NOTE: For best results, clean, prime and paint unpainted skid plate before installation.
Chock front wheels and jack the rear of the cart up approximately 6 inches and secure with jack stands or back cart onto car ramps.
STEP 1
Assemble the 1” square tube strut to the front edge of the skid plate using (2) 5/16” X 1.5” long carriage bolts and flange nuts. Tighten until finger tight. (Figure #1)
STEP 2
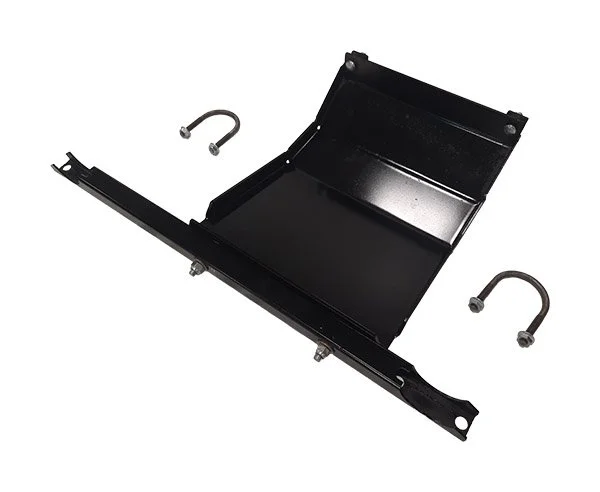
FIGURE 1
From the rear of the cart, align the rear slid plate tabs with the ½” diameter horizontal stabilizer at the rear of the carrier frame and push upward until seated. Install the (2) quarter-inch X 1.25” carriage bolts and self-locking nuts as shown in figure 2.
STEP 3
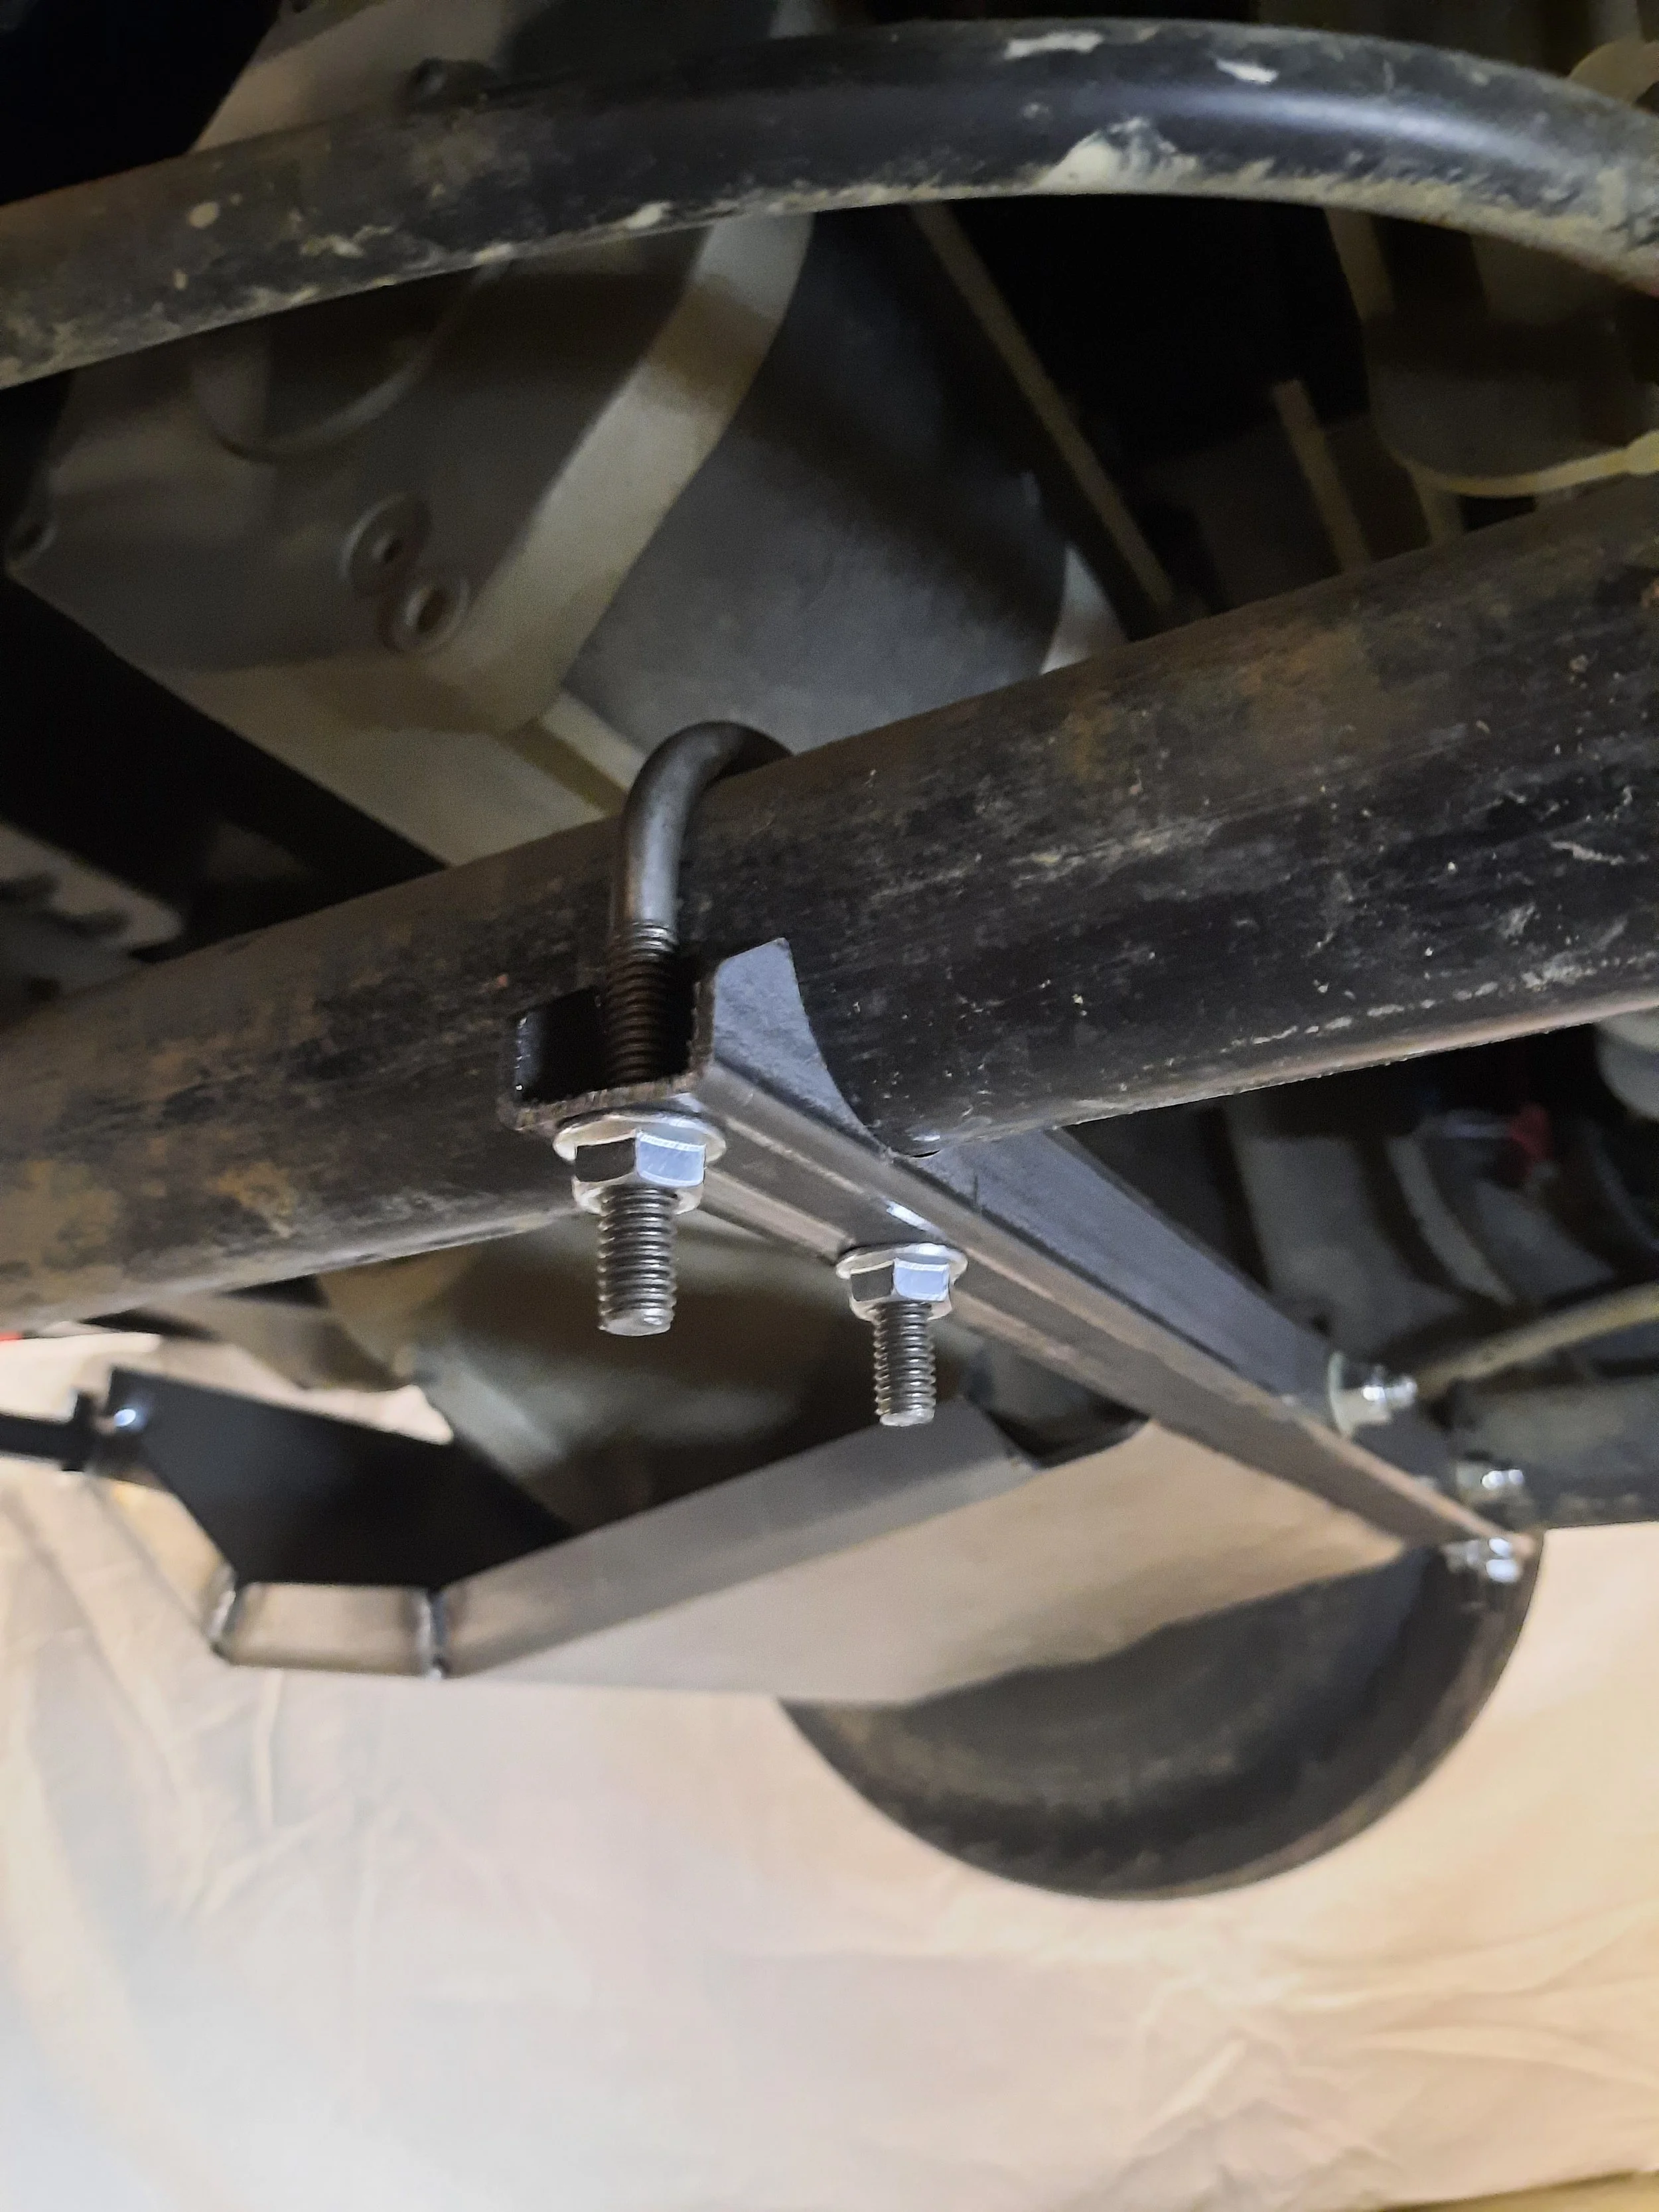
FIGURE 2
Install the (2) 5/16” X 1.75” diameter U bolts around the carrier frame tube and through the skid plate square tube strut as shown in figure #3.
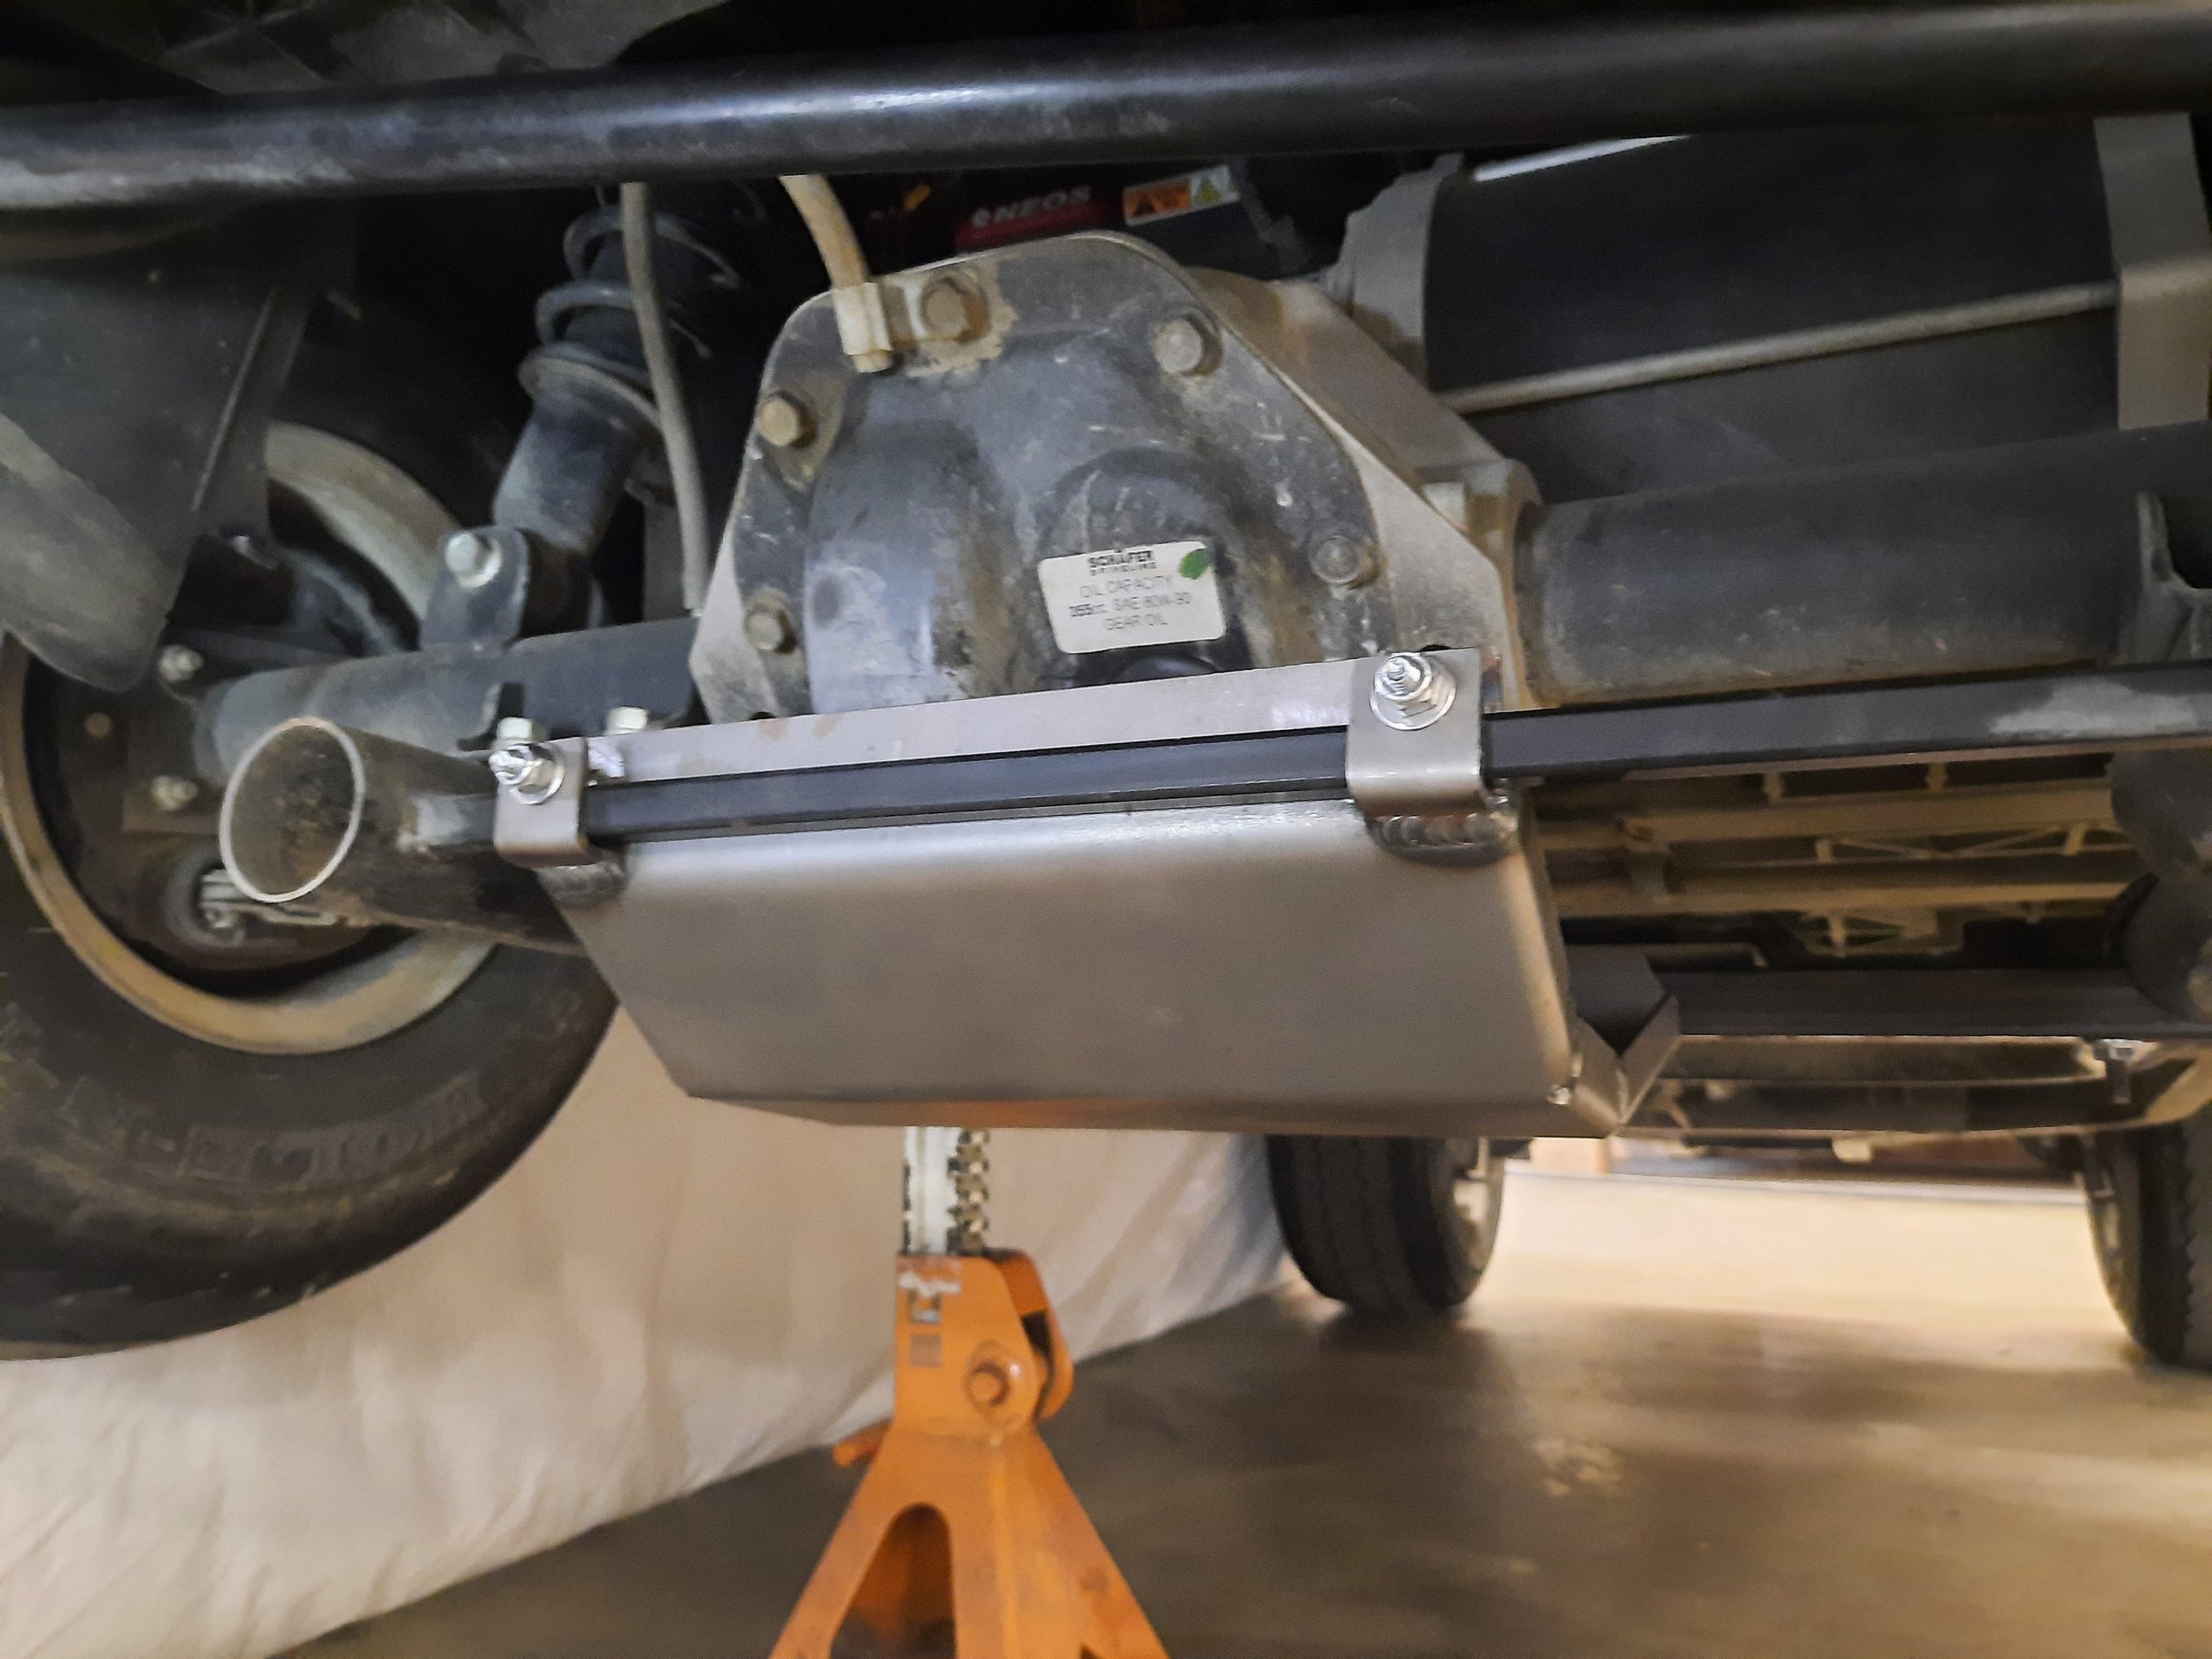
STEP 4
FIGURE 3
Confirm that skid plate is aligned properly before tightening all bolts. (If desired, trim excess threads from U bolts with cutoff wheel.)
STEP 5
Lower cart and enjoy driving your Yamaha golf cart, knowing your transaxle is fully PROTECTED!
STEP 6
WARNING: DO NOT USE JACK ON INSTALLED SKID PLATE!